


Patrocinado
A Step-by-Step Guide to Testing a Capacitor with Ohm Meter
Capacitors play a key role in nearly every electronic device, from power supplies to motor circuits. They store and release electrical energy, helping to regulate voltage and smooth out fluctuations. Like any component, capacitors can fail over time. When they do, circuits can malfunction, devices may not start, or you might notice unusual behavior such as humming sounds or erratic performance. One of the simplest ways to check a capacitor’s condition is by testing a capacitor with ohm meter. Understanding how to do this correctly can save you time, money, and prevent unnecessary replacements.
Why Testing a Capacitor Matters
Before you start, it’s important to understand why capacitor testing is necessary. Over time, capacitors can degrade due to heat, overvoltage, or simply age. Common symptoms of a bad capacitor include bulging tops, leaking fluid, or a complete lack of function in the circuit. Testing helps confirm whether the capacitor is truly defective or if another part of the system is to blame. By testing a capacitor with ohm meter, you can quickly determine if it’s open, shorted, or still holding charge.
Safety First Before Testing
Before handling any capacitor, safety must come first. A charged capacitor can hold a dangerous voltage even after power is turned off. Always disconnect the power and discharge the capacitor before testing. To discharge it, use an insulated screwdriver or a resistor across the terminals for a few seconds. This step ensures you don’t get shocked or damage your measuring device. Never skip this process, especially when dealing with large electrolytic capacitors used in power supplies.
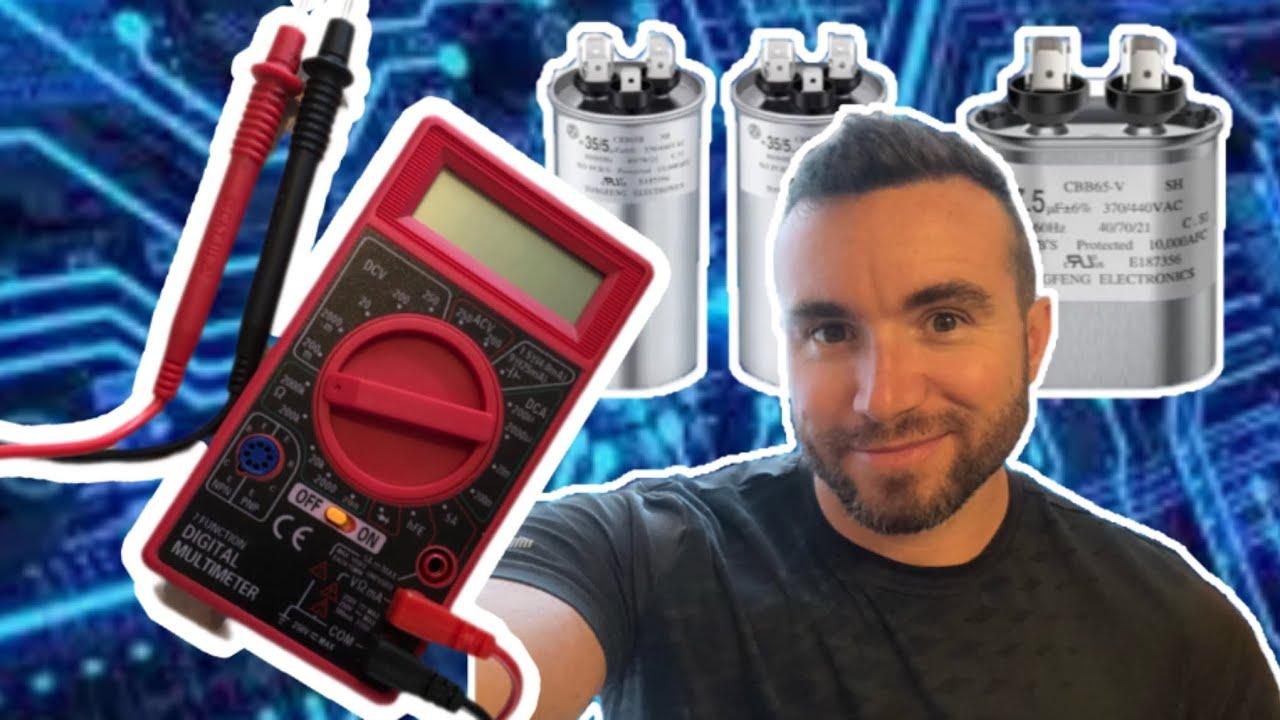
Understanding the Role of an Ohm Meter
An ohm meter, often part of a multimeter, measures resistance between two points. When used for testing a capacitor with ohm meter, it provides a simple yet effective way to check the charging and discharging behavior. A healthy capacitor won’t show a constant resistance like a resistor does. Instead, it will start with a low reading that gradually increases until it reaches a high resistance or “infinity.” This pattern indicates that the capacitor is accepting charge and is likely functional.
How to Test a Capacitor Using an Ohm Meter
To begin, ensure your multimeter is set to the resistance or “ohms” setting. Then follow these steps carefully:
-
Disconnect the capacitor from the circuit. Testing a capacitor in-circuit can give false readings because other components may affect the measurement.
-
Discharge the capacitor completely to remove any residual charge.
-
Connect the test leads of the ohm meter to the capacitor terminals. Polarity doesn’t matter for non-polarized capacitors, but for electrolytic capacitors, connect the red lead to the positive terminal and the black lead to the negative terminal.
-
Observe the reading on the meter. A good capacitor will show a low resistance at first, then the resistance value will steadily increase before leveling off at infinity. This means the capacitor is charging.
-
Reverse the leads and test again. The meter should show a similar charging pattern in the opposite direction.
If the meter shows a constant low resistance, the capacitor is shorted. If it shows infinite resistance right away and doesn’t move, the capacitor is open and not charging. Both conditions indicate a failed capacitor.
Interpreting the Results
When testing a capacitor with ohm meter, your readings reveal how the capacitor behaves under test conditions. For example, a capacitor that instantly jumps to infinity without showing an initial charge movement is open, meaning the internal connection is broken. A capacitor that shows zero or near-zero resistance is shorted, meaning there’s an internal short circuit. A gradual rise in resistance is what you want to see; it means the capacitor can store and release charge properly.
Tips for Accurate Testing
Accuracy depends on proper handling and setup. Always ensure the capacitor is disconnected and discharged before measuring. If you’re working with very small capacitors (in the picofarad range), an ohm meter may not provide an accurate test because the charging action happens too fast to detect. In that case, a capacitance meter or digital multimeter with a capacitance function is better. However, for larger capacitors like those found in power circuits, testing a capacitor with ohm meter works well as a quick diagnostic method.
Conclusion
Learning the process of testing a capacitor with ohm meter helps you maintain and troubleshoot electronic systems effectively. It’s a practical skill that doesn’t require expensive tools or complex procedures. By understanding the readings and observing the capacitor’s behavior, you can identify problems early and prevent costly equipment failures. Whether you’re repairing household electronics or working on industrial machinery, knowing how to test a capacitor properly ensures your devices keep running smoothly and safely.
Follow Us On Youtube For More Information:
https://www.youtube.com/@Origin_Data
Patrocinado
Patrocinado
Patrocinado
Categorias
Leia Mais
In the modern streetwear landscape, few brands have generated as much organic hype, exclusivity, and authentic cultural relevance as Corteiz. Founded by Clint419 in London, Corteiz—often stylized as CRTZ—has carved a lane that blends rebellious messaging, underground drops, and a strictly community-driven ethos. The brand’s manifesto, “Rule The World,” isn’t...
LUXURY138 Daftar Judi Slot Pragmatic Deposit EMoney Pasti Lancar Terbesar Luxury138 Website Judol Dengan Kemenangan Tertinggi Bagi para pecinta permainan slot online di Indonesia, menemukan situs terpercaya dengan peluang menang besar tentu menjadi prioritas utama. Salah satu pilihan terbaik saat ini adalah Luxury138, sebuah website judol (judi online) yang dikenal sebagai tempat bermain...
The Global Network Security Policy Management Market is expected to grow at a CAGR of 8% during the forecast period 2024-2031 The Network Security Policy Management (NSPM) market provides solutions and services for defining, implementing, and enforcing rules and procedures to protect an organization's network infrastructure and data. It is a critical component of a comprehensive cybersecurity...
In einer Stadt wie Osnabrück, in der Mobilität und Zuverlässigkeit eine große Rolle spielen, ist ein guter Taxiservice unverzichtbar. Ob für Geschäftsleute, Touristen oder Einheimische – ein schneller, pünktlicher und freundlicher Transport ist entscheidend. Funk Taxi Osnabrück hat sich über Jahre hinweg als der führende...
🌐 CLICK HERE 🟢==►► WATCH NOW 🔴 CLICK HERE 🌐==►► Download Now https://***.my.id/watch-streaming/?video=full-part-02-at***-video-paro-aarti-full-original-video-link
