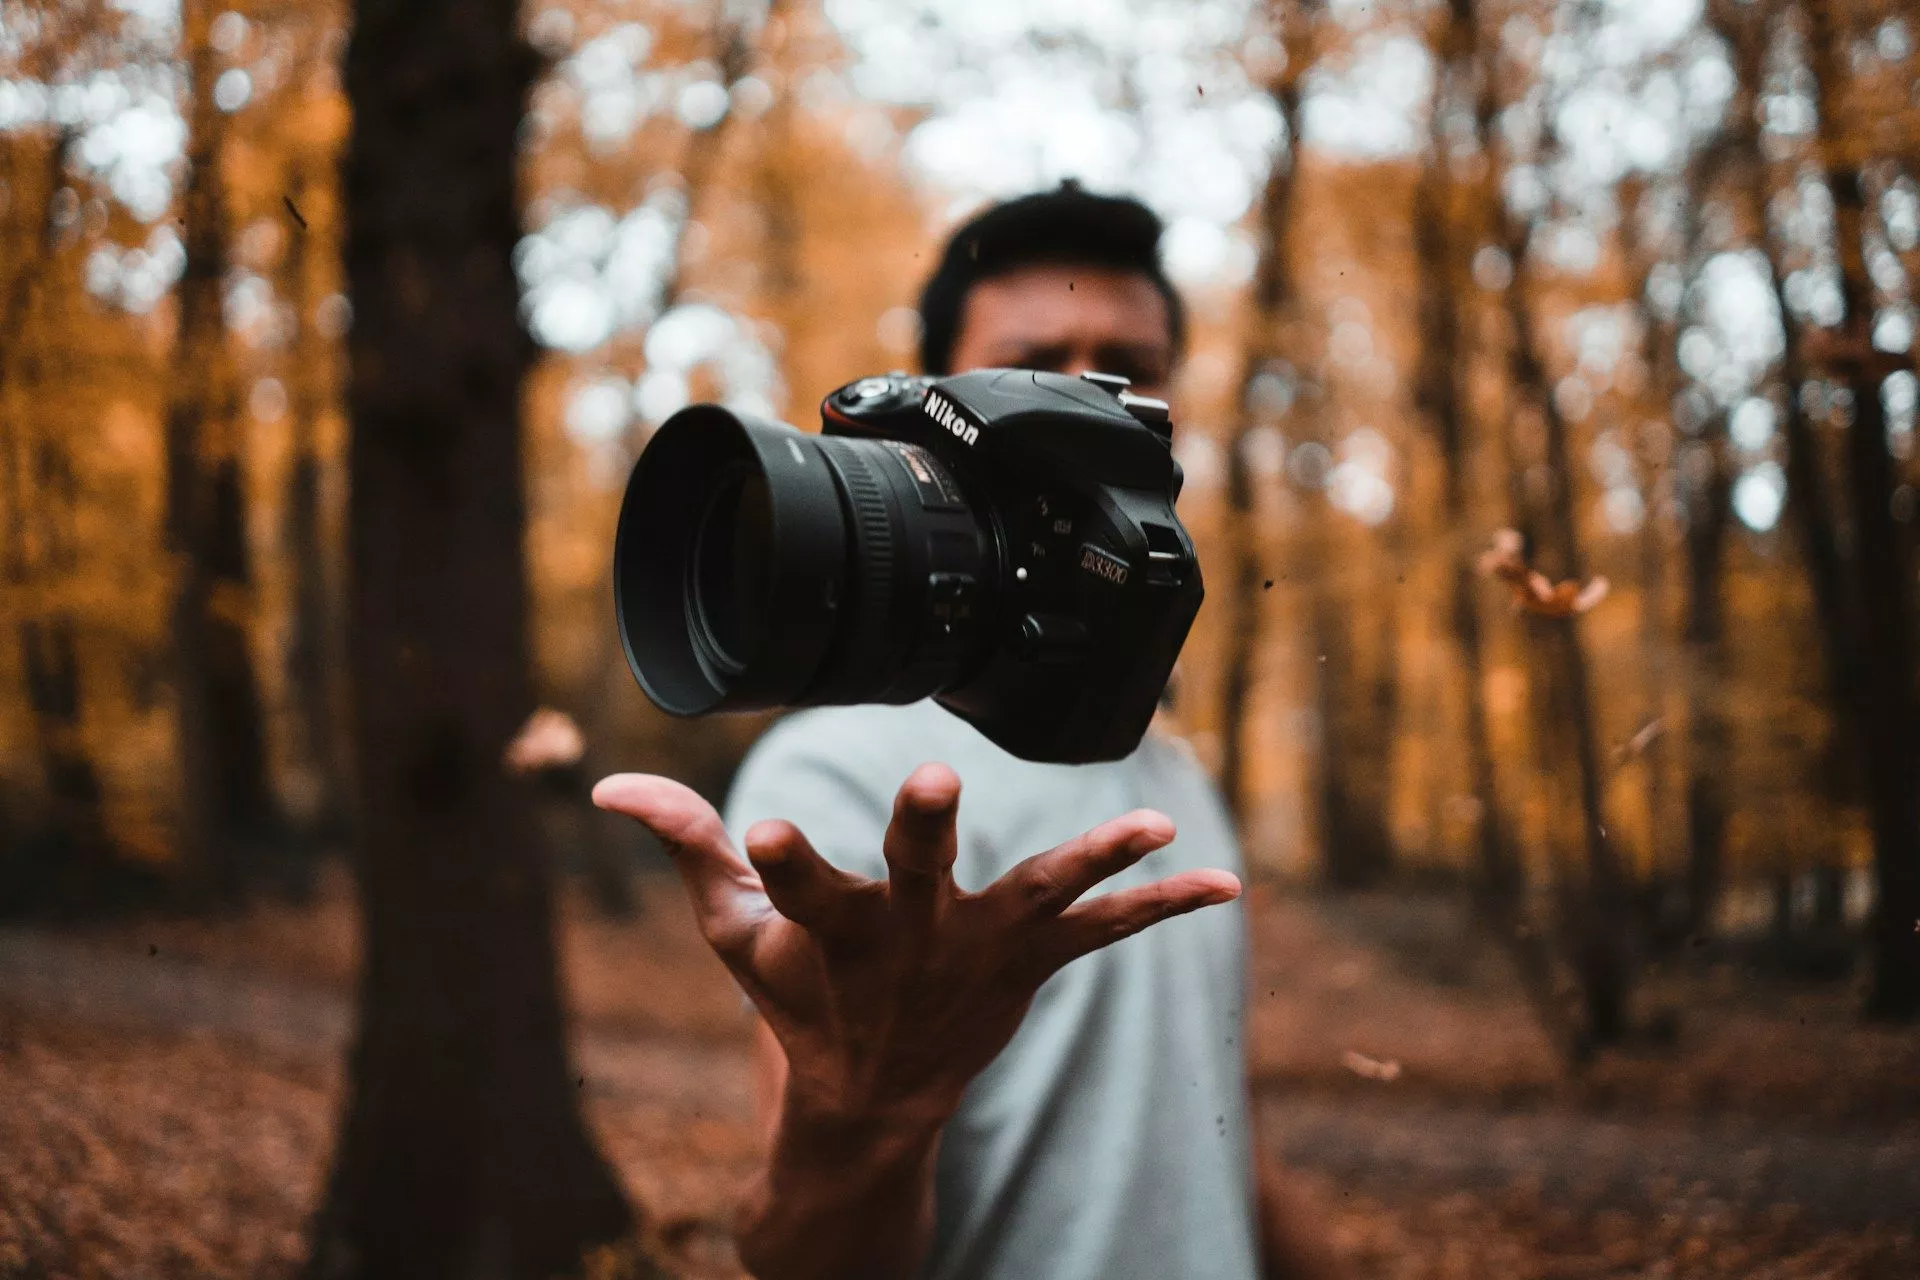
Exposure Unlocked: From Fundamentals to Frame-Worthy Photos

There’s something undeniably powerful about a well-exposed photo. It doesn’t just capture a moment—it elevates it. Whether you’re just picking up your first camera or trying to elevate your shots from basic to breathtaking, understanding exposure is your key to consistent, professional-looking images. At JSDominates, we don’t just teach photography—we help you unlock your full creative potential, starting with the very foundation: exposure.
The Pillars of Exposure: Shutter Speed, Aperture, ISO
Think of exposure as a three-legged stool. Take one leg away or weaken it, and your image falls flat. Shutter speed, aperture, and ISO each contribute to how much light reaches your camera’s sensor—and more importantly, how that light shapes your photo.
Mastering these three is less about memorization and more about observation. You learn not just how your camera sees, but how you want your audience to feel when they see your work.
Shutter Speed: Capturing Motion and Drama
Shutter speed determines how long your camera’s sensor is exposed to light. A fast shutter speed (1/1000) can freeze a bird in mid-flight, while a slow one (1/10 or longer) transforms a waterfall into silky strands.
It’s not just about technical accuracy—it’s about storytelling. Want to inject tension or energy? Use faster speeds. Want calm, flow, or emotion? Slow it down.
Common mistake? Underestimating how hand shake or subject motion ruins clarity. Use a tripod for long exposures and adjust ISO/aperture accordingly to maintain sharpness.
Aperture: Shaping Depth and Detail
The aperture controls how wide your lens opens to let in light. Measured in f-stops (like f/1.8, f/4, f/11), it also directly affects your photo’s depth of field—how much of the image is in sharp focus.
A wide aperture (e.g., f/1.8) beautifully blurs the background for portraits, while a narrow one (e.g., f/11) keeps the entire landscape in sharp detail.
Pro tip: Use aperture creatively to guide your viewer’s focus. Don’t just shoot what’s in front of you—shoot what matters in the frame.
ISO: Sensitivity in the Digital Age
ISO determines how sensitive your sensor is to light. A lower ISO (100–200) keeps your image crisp in bright conditions, while higher values (1600–6400+) help in low light.
But with higher ISO comes digital noise—grainy artifacts that can degrade image quality. The trick is balance. Know your camera’s limits. Use available light wisely. And only raise ISO when absolutely necessary.
Want clean low-light shots? Stabilize your camera, slow your shutter, and widen your aperture before cranking ISO.
The Exposure Triangle: Balancing the Big Three
Shutter speed, aperture, and ISO don’t operate in isolation. Change one, and the others must adapt.
That’s the essence of the Exposure Triangle.
If you widen your aperture to create background blur, you may need a faster shutter to avoid overexposure. Boost ISO to handle low light? You might narrow the aperture or quicken the shutter to reduce brightness and compensate for noise.
Practice scenarios:
-
Outdoor sports: Fast shutter, wider aperture, moderate ISO
-
Night cityscapes: Long exposure, narrow aperture, low ISO with tripod
-
Indoor portraits: Medium shutter, wide aperture, higher ISO (but not too high)
Use your camera’s histogram and light meter to fine-tune. Exposure is about balance—and intention.
Manual Mode Mastery: Taking Full Control
Auto mode can be convenient, but it also limits your growth. Manual mode is where true photographic control—and creativity—begins.
Start with aperture or shutter priority if you’re intimidated. Gradually experiment with all three settings. At JS Dominates, we emphasize hands-on learning with practical drills that help your instincts grow faster than any textbook.
Manual isn’t just for the pros. It’s the gateway to making your camera respond to your vision—not the other way around.
Light Beyond Settings: Natural and Artificial Techniques
Exposure doesn’t end with camera settings. Light—its direction, quality, and color—transforms your shot before you even press the shutter.
-
Golden hour (shortly after sunrise or before sunset) adds warmth and softness
-
Midday sun is harsh and contrast-heavy—use shade or a diffuser
-
Studio lights allow precision but demand control
-
Reflectors bounce light into shadows
-
ND filters reduce light for long exposures during the day
At JS Dominates, we dive deep into light manipulation because exposure isn’t just about seeing—it’s about sculpting what you see.
From Snapshot to Frame-Worthy
Even a well-exposed image can benefit from refinement. Use post-processing tools to slightly tweak brightness, contrast, and highlights—without over-editing. Maintain authenticity.
Beyond exposure, composition shapes your final result. Rule of thirds, leading lines, and thoughtful cropping turn a technically correct image into a compelling one.
Want frame-worthy results? Pair strong exposure with meaningful composition, and let your photos do the talking.
Conclusion: Exposure as a Creative Compass
Exposure isn’t a checklist. It’s a language. Once you understand how it works, it becomes second nature—guiding your hand as you tell stories with light, texture, and emotion.
At https://www.jsdominates.com/, we believe in building skill through clarity, practice, and precision. From fundamental principles to advanced techniques, our mission is to equip photographers with tools that empower—not overwhelm.
So go out. Shoot. Adjust. Experiment. Your frame-worthy photos start here—with exposure unlocked.
- Art
- Causes
- Crafts
- Dance
- Drinks
- Film
- Fitness
- Food
- Giochi
- Gardening
- Health
- Home
- Literature
- Music
- Networking
- Altre informazioni
- Party
- Religion
- Shopping
- Sports
- Theater
- Wellness


