

Thread Your Brand: How to Perfectly Digitize a Logo for Embroidery
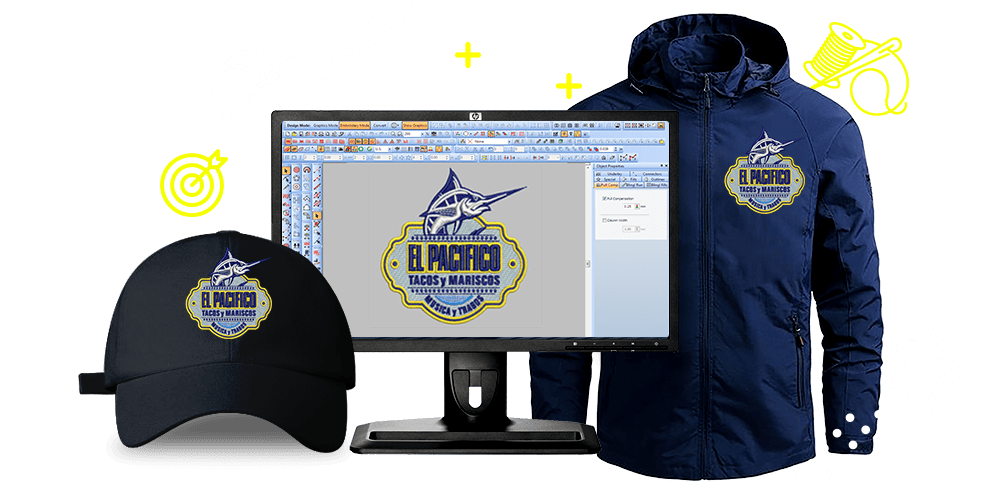
Embroidery has always been a classy way to showcase a brand, whether it’s on uniforms, hats, or promotional merchandise. But before an embroiderer can stitch your logo onto fabric, it needs to be digitized—a process that converts your ***gn into language embroidery machines understand. If you’ve ever wondered why some embroidered logos look crisp and professional while others appear messy or distorted, the answer lies in digitization.
Getting it right isn’t just about having a high-resolution image; it’s about understanding stitch types, fabric behavior, and how colors blend in thread form. Whether you're a business owner looking to brand your team’s apparel or a ***gner prepping artwork for embroidery, this guide will walk you through the essentials to digitize a logo for embroidery.
Why Digitizing Matters
You might think any graphic ***gner can prepare a logo for embroidery, but that’s not the case. Embroidery digitizing is a specialized skill. A regular JPEG or PNG file won’t work because embroidery machines don’t interpret pixels—they follow stitch paths. A poorly digitized logo can lead to thread breaks, uneven textures, or a ***gn that looks nothing like the original.
A well-digitized logo, on the other hand, ensures clean lines, proper density, and a professional finish. It accounts for factors like:
- Fabric type (stretchy fabric behaves differently than stiff material)
- Stitch direction (affects how light reflects off the threads)
- Underlay stitches (the foundation that keeps the ***gn stable)
- Thread tension (too tight and the fabric puckers; too loose and stitches look sloppy)
Step 1: Start with the Right File
Before digitizing begins, your logo should be in the best possible format. Vector files (like AI, EPS, or SVG) are ideal because they’re scalable without losing quality. If you only have a raster image (JPEG, PNG), a ***gner may need to recreate it as a vector first.
Key things to check:
- Clean edges – No pixelation or blurry lines.
- Simplified details – Tiny text or intricate elements may not stitch well.
- Color separation – Each color should be distinct for thread changes.
Step 2: Choose the Right Digitizing Software
Professional digitizers use specialized software like Wilcom, Pulse, or Hatch. These programs allow precise control over stitch types, densities, and sequencing. While some auto-digitizing tools exist (like those in Brother machines), they often lack the finesse needed for complex logos.
If you’re outsourcing, make sure your digitizer has experience with logos similar to yours. A good digitizer will:
- Adjust stitch density based on fabric.
- Use underlay stitches to prevent shifting.
- Optimize stitch paths to minimize jumps and trims.
Step 3: Simplify Where Necessary
Not all ***gn elements translate well to thread. Small text (under ¼ inch tall) can become unreadable, and gradients don’t exist in embroidery—they must be simulated with color blocking or stitch direction.
Common adjustments include:
- Thickening fine lines – Super thin strokes may disappear when stitched.
- Expanding small gaps – Tight spaces can merge when stitched.
- Converting complex patterns – Highly detailed artwork may need simplification.
Step 4: Select the Right Stitch Types
Embroidery uses different stitch styles, each with its own effect:
- Satin stitches – Smooth, shiny finish (great for text and borders).
- Fill stitches – Solid areas of color (used for larger shapes).
- Running stitches – Outlines or fine details.
A skilled digitizer mixes these strategically. For example, a company logo with bold letters might use satin stitches for text and fill stitches for the emblem.
Step 5: Test and Refine
Even the best digitizing needs a test run. Stitching the ***gn on a scrap piece of the final fabric reveals issues like:
- Puckering (too much density or tension).
- Gaps (underlay not properly supporting the top stitches).
- Thread breaks (stitch paths too dense or overlapping poorly).
Adjustments are made based on the test, ensuring the final product looks flawless.
Common Mistakes to Avoid
- Ignoring fabric differences – A logo digitized for cotton won’t necessarily work on polyester.
- Overcomplicating the ***gn – Less is often more in embroidery.
- Skipping the test stitch – What looks good on-screen may fail in reality.
Final Thoughts
Digitizing a logo for embroidery isn’t just a technical step—it’s an art. A well-digitized ***gn elevates your brand, making it look polished and professional. Whether you’re handling it yourself or working with a pro, understanding the process ensures you get the best results.
Ready to stitch your brand into reality? Start with a clean vector file, choose the right digitizer, and always test before finalizing. Your logo (and your customers) will thank you.

