

Optimizing PXF Files for Flawless Pfaff Machine Embroidery
Introduction
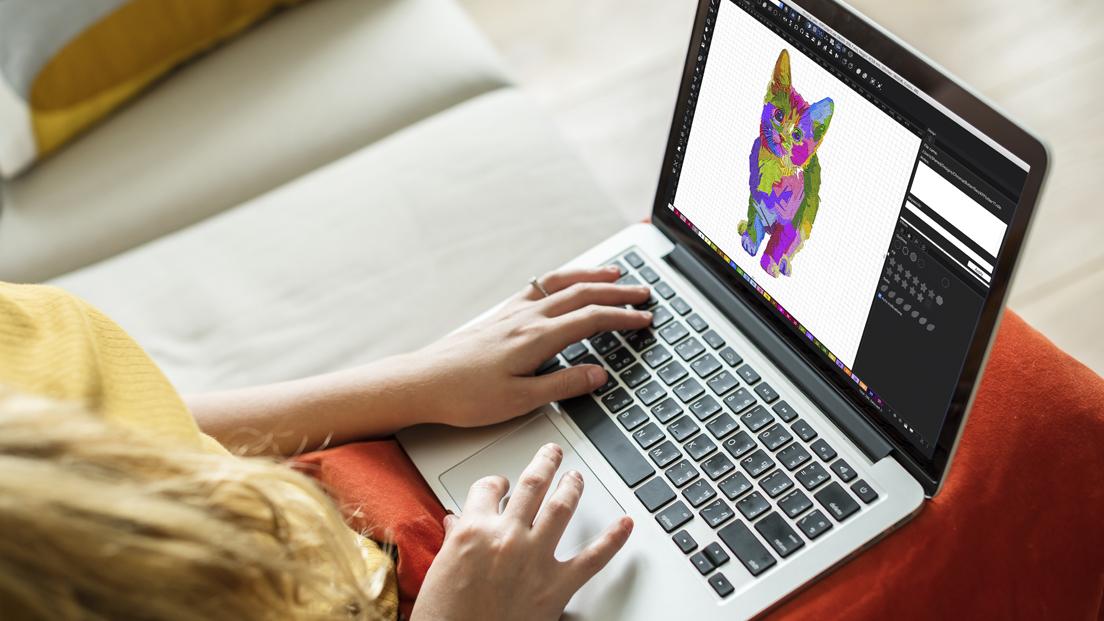
You've just loaded a beautiful ***gn onto your Pfaff machine, hit start, and... disaster strikes. Thread breaks, fabric puckers, and what should have been crisp details now look like a tangled mess. The culprit? An unoptimized PXF file embroidery setup.
PXF (Perfect Embroidery Format) files contain all the stitch data your Pfaff machine needs for PXF file embroidery, but without proper optimization, even the best ***gns can stitch out poorly. In this guide, we'll walk through professional techniques to prepare PXF files that run smoothly on Pfaff machines for flawless PXF file embroidery results, preserving every detail while preventing common embroidery headaches.
Why PXF Files Need Special Attention for Pfaff Machines
Unique Characteristics of PXF Format
• Native support for Pfaff machine functions
• Preserves stitch sequencing accuracy
• Contains specialized tension settings
• Optimized for Pfaff's precision stitching
Common PXF File Issues on Pfaff Machines
-
Thread breaks during dense sections
-
Misaligned color changes
-
Fabric puckering despite stabilizer
-
Stitch quality inconsistencies
Step-by-Step PXF Optimization Process
1. Pre-Digitizing File Preparation
Check ***gn Suitability:
✔ Minimum detail size: 1.2mm
✔ Optimal color count: 6-8 for most ***gns
✔ Maximum stitch density: 0.45mm for most fabrics
Software Settings for Pfaff:
-
Select "Pfaff" as target machine
-
Enable "PXF Extended Features"
-
Set proper hoop size parameters
2. Stitch Optimization Techniques
Density Adjustments by Fabric Type:
| Fabric | Recommended Density | Underlay Type |
|---|---|---|
| Cotton | 0.35-0.4mm | Edge Run + Zigzag |
| Knits | 0.3-0.35mm | Mesh Underlay |
| Denim | 0.4-0.45mm | Center Walk |
| Fleece | 0.35mm with Topping | Contour Underlay |
Pfaff-Specific Enhancements:
-
Activate "Precision Stitch" mode
-
Optimize jump stitch trimming
-
Program smart color changes
3. Pfaff Machine Preparation
Essential Settings:
-
Thread tension: 2.8-3.2 (adjust per ***gn)
-
Needle size: 75/11 for most projects
-
Stabilizer: 2 layers cutaway for dense ***gns
Advanced Optimization Techniques
1. Stitch Flow Engineering
• Sequence stitches to minimize head movement
• Group color changes logically
• Program strategic tie-off points
2. Tension Compensation
• Add +0.1mm pull comp for knits
• Reduce density on stretch fabrics
• Test stitch direction on scraps
3. Specialty Thread Handling
• Metallic thread adjustments
• Variegated thread sequencing
• Matte vs. shiny thread mixing
Pfaff-Specific PXF Features to Utilize
1. Integrated Tension Control
• Program tension changes within ***gn
• Automatic adjustments for tricky sections
2. Precision Mode Activation
• Smoother curves on small text
• Better registration on complex ***gns
3. Smart Thread Trimming
• Reduced thread waste
• Cleaner backings
Troubleshooting Common PXF Issues
Problem: Thread Breaks
Solutions:
-
Reduce density in problem areas
-
Check needle size/type
-
Adjust upper tension
Problem: Fabric Puckering
Solutions:
-
Add more underlay
-
Use heavier stabilizer
-
Decrease overall density
Problem: Misaligned Colors
Solutions:
-
Check registration marks
-
Verify proper hooping
-
Redigitize with better underlay
Pro Tips for Perfect Pfaff Results
-
The 10% Test Rule
-
Stitch first 10% of ***gn
-
Check tension/registration
-
Make adjustments before continuing
-
-
Pfaff Smart Needle System
-
Use genuine Pfaff needles
-
Replace after 8 hours of stitching
-
-
***gn Placement Guidelines
-
Stay 1" from garment seams
-
Avoid high-stretch areas
-
Consider pocket placement
-
Software-Specific Optimization
For Hatch Embroidery Users:
• Enable "Pfaff Precision" mode
• Use PXF export presets
• Adjust pull compensation
For Wilcom Users:
• Select "Pfaff" machine profile
• Activate advanced trim settings
• Optimize stitch sequencing
For Embrilliance Users:
• Choose PXF extended format
• Adjust for Pfaff tension
• Simplify complex areas
Future of PXF File Optimization
Emerging Technologies:
-
AI-assisted stitch path optimization
-
Cloud-based PXF pre-checking
-
Automated fabric detection
-
AR stitching previews
Conclusion
Optimizing PXF files for Pfaff machines transforms frustrating embroidery experiences into flawless results. By understanding Pfaff-specific requirements, adjusting stitch parameters carefully, and utilizing built-in machine features, you can achieve professional-quality embroidery every time.
Key takeaways:
• Pfaff machines need specialized PXF preparation
• Density and underlay make or break your ***gn
• Always test stitch before final production
• Machine maintenance impacts file performance
Your next PXF ***gn could be your best yet—why not take these techniques for a test drive on your Pfaff machine today?

